Adaptive inline banner
An adaptive inline banner is a flexible banner ad format that ensures maximum efficiency by optimizing ad size for each device.
With this ad type, developers can set the maximum allowable ad width and height, and the system determines the optimal ad size automatically. To choose the best ad size, adaptive inline banners use a maximum height instead of a fixed one. This helps improve performance.
Typically, this format is used in feed-based apps or contexts where it's acceptable to primarily focus user attention on ads.
Appearance
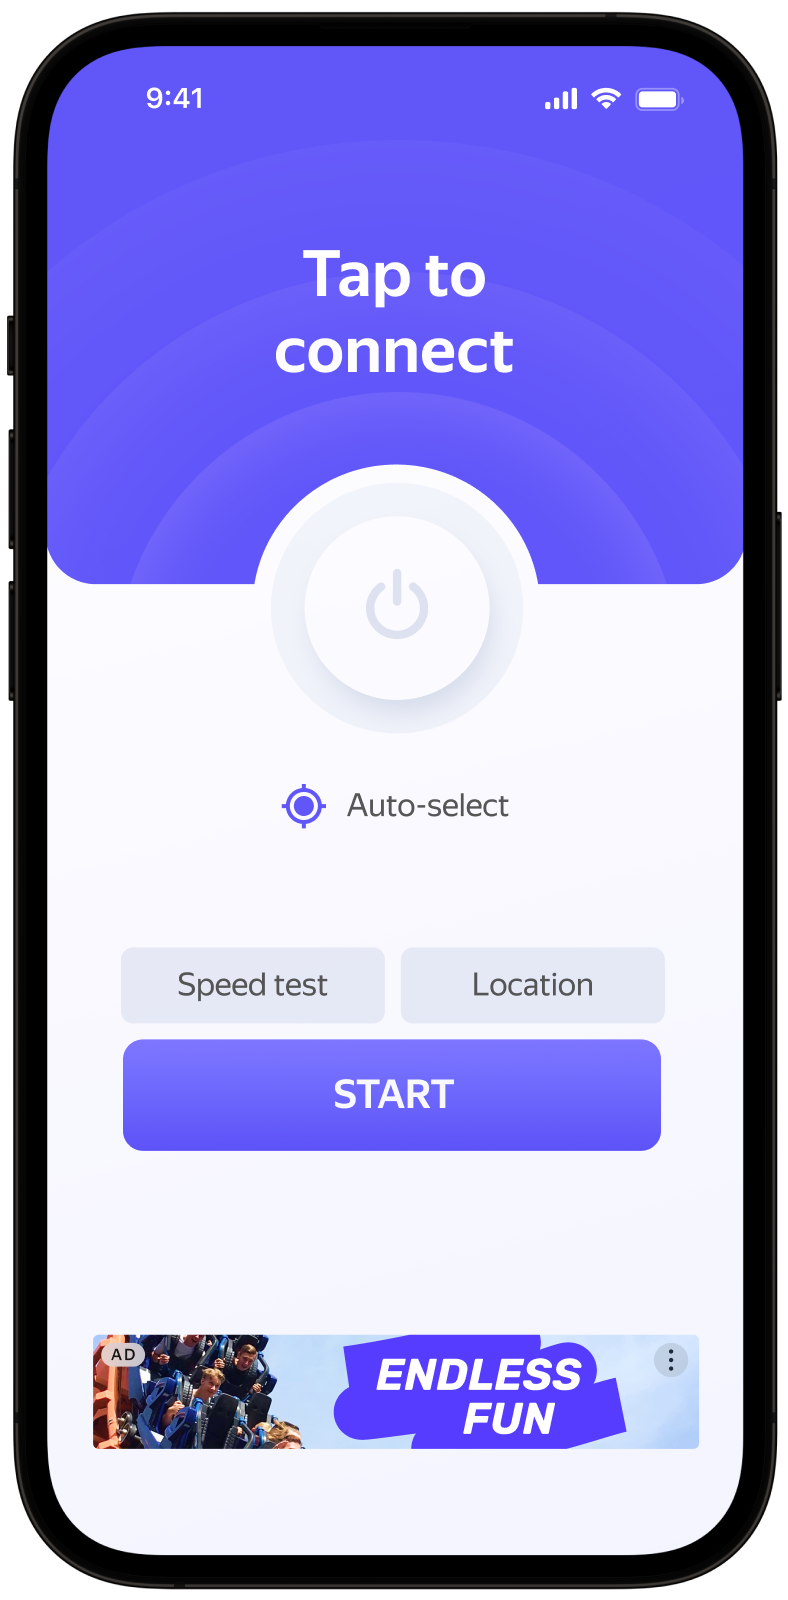
This guide shows you how to integrate an adaptive inline banner into a Compose Multiplatform app. Besides code samples and instructions, it also contains format-specific recommendations and links to additional resources.
Prerequisite
- Follow the Yandex Mobile Ads Compose Multiplatform plugin integration steps described under Quick start.
- Make sure that you have the latest version of the Yandex Mobile Ads Compose Multiplatform plugin. If you're using mediation, update to the most recent single build version.
Implementation
Key steps to integrate an adaptive inline banner:
- Add a
Bannercomposable to your UI and passBannerAdSize.Inlinewith the container width and maximum height. - Configure ad lifecycle callbacks using
BannerEvents.
Specifics of adaptive inline banner integration
- Create a state using
rememberBannerAdState()with the size set toBannerAdSize.Inline(width and maximum height indp). PassBannerEventsif needed. - Trigger the ad load by calling
loadAd(AdRequest)— typically fromLaunchedEffectonce the slot ID and dimensions are ready. - Pass the state to the
Bannervia thestateparameter.
Sample layout:
@Composable
fun BannerSlot(adRequest: AdRequest, width: Dp, maxHeight: Dp) {
    val bannerState = rememberBannerAdState(
        adSize = BannerAdSize.Inline(width, maxHeight),
        events = BannerEvents(
            onAdLoaded = { adInfo -> /* ad loaded */ },
            onAdFailedToLoad = { error -> /* handle error */ },
            onAdClicked = { /* ad clicked */ },
            onImpression = { data -> /* impression tracked */ },
        ),
    )

    LaunchedEffect(adRequest) {
        bannerState.loadAd(adRequest)
    }

    Banner(
        state = bannerState,
        modifier = Modifier.fillMaxWidth(),
    )
}
To load an ad, you'll need an ad unit ID (adUnitId) that you can find in the Boost interface.
Set the container width based on the available space. We recommend using the full width of the parent container or screen, accounting for padding and safe areas.
Once loaded, the ad will display automatically.
Specifics of adaptive inline banner integration
-
If the
onAdFailedToLoadcallback reports an error, don't attempt to request a new ad immediately. If you can't avoid reloading, limit the number of attempts. This helps prevent endless failed requests and connection issues under poor network conditions. -
For adaptive inline banners to work properly, make your app layouts adaptive.
-
Adaptive inline banners work best when they span the full available width. This is usually the width of the device screen. Don't forget to factor in your app's padding and safe areas.
-
The
BannerAdSize.Inline(width, maxHeight)value is used by the ad service to determine the best size, so the actual height of the rendered ad can vary between loads.
Testing adaptive inline banner integration
Using demo ad units for ad testing
Use test ads to check your adaptive inline banner integration and the app itself. To make sure that test ads are returned for each ad request, you can use a special demo ad placement ID.
Demo adUnitId: demo-banner-yandex.
Warning
Before publishing your app in the store, make sure to replace the demo placement ID with the real ID you obtained in the Boost interface.
For the list of all available demo ad placement IDs, see Demo ad units for testing.
Testing ad integration
You can check if your adaptive inline banners are integrated correctly using the SDK's built-in analyzer. A detailed report with the test results will appear in the log.
To view the report, search for the keyword “YandexAds” in Logcat, a tool for debugging Android apps.
adb logcat -v brief '*:S YandexAds'
If the integration is successful, the following message is returned:
adb logcat -v brief '*:S YandexAds'
mobileads$ adb logcat -v brief '*:S YandexAds'
I/YandexAds(13719): [Integration] Ad type banner was integrated successfully
If there are any banner integration issues, you'll get a detailed issue report and troubleshooting recommendations.
Using demo ad units for ad testing
Use test ads to check your ad integration and the app itself. To make sure that test ads are returned for each ad request, you can use a special demo ad placement ID.
Demo adUnitId: demo-banner-yandex.
Warning
Before publishing your app in the store, make sure to replace the demo placement ID with the real ID you obtained in the Boost interface.
For the list of all available demo ad placement IDs, see Demo ad units for testing.
Testing ad integration
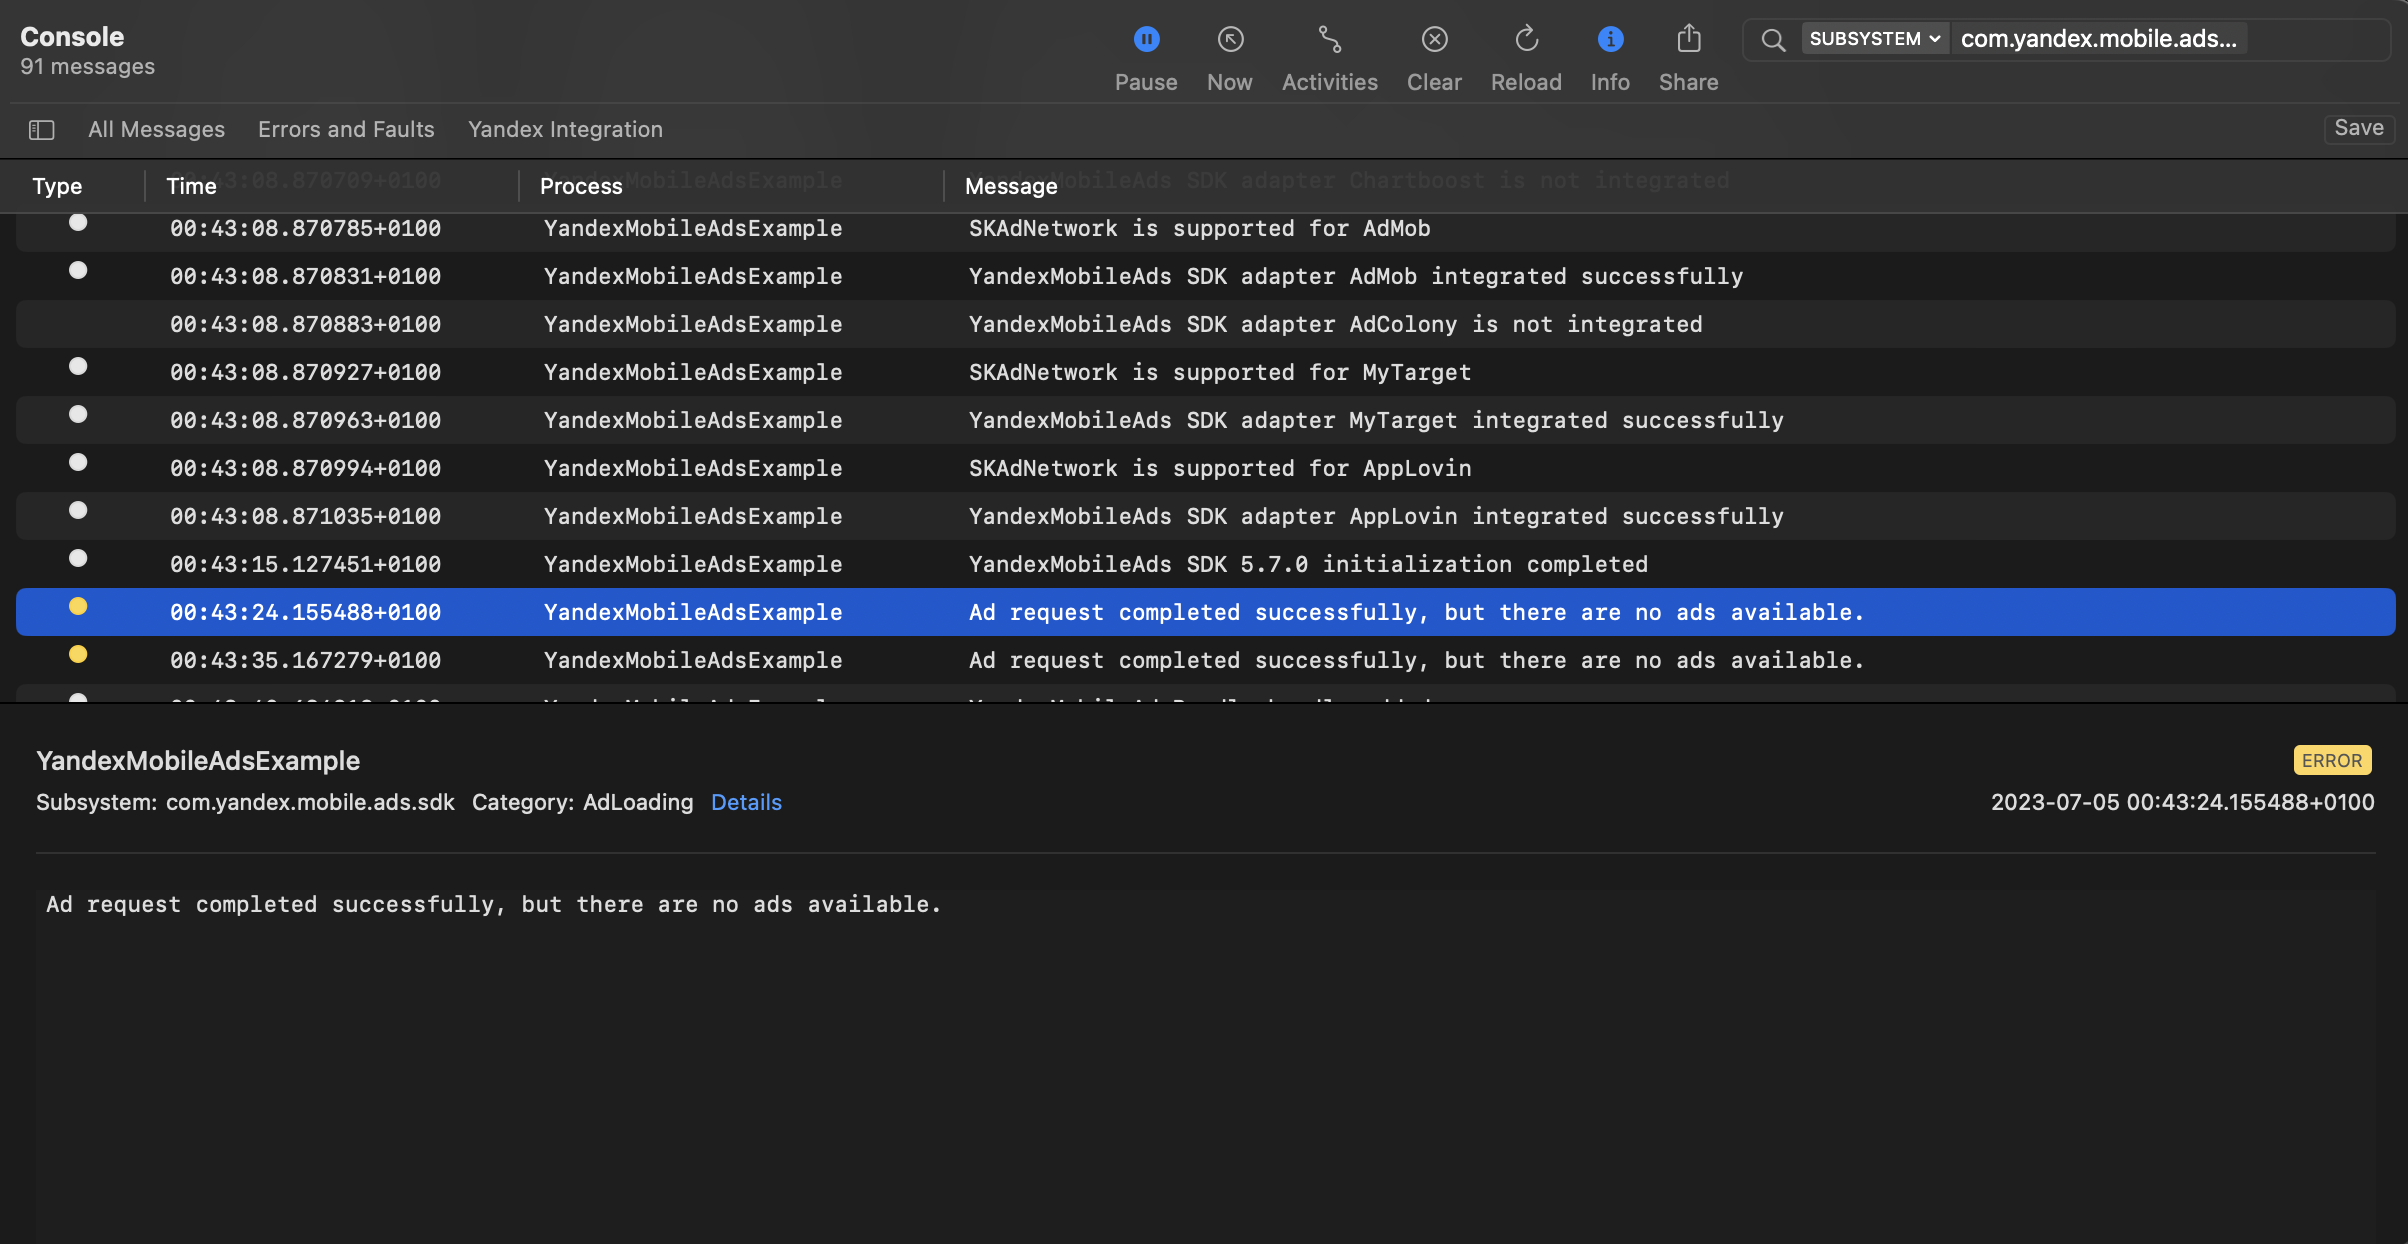
You can test your ad integration using the native Console tool.
To view detailed logs, call the YandexAds class's enableLogging method.
YandexAds.enableLogging()
To view SDK logs, go to the Console tool and set Subsystem = com.mobile.ads.ads.sdk. You can filter logs by category or error level.
If you're having problems integrating ads, you'll get a detailed report on the issues and recommendations for how to fix them.
Additional resources
- Link to GitHub.